

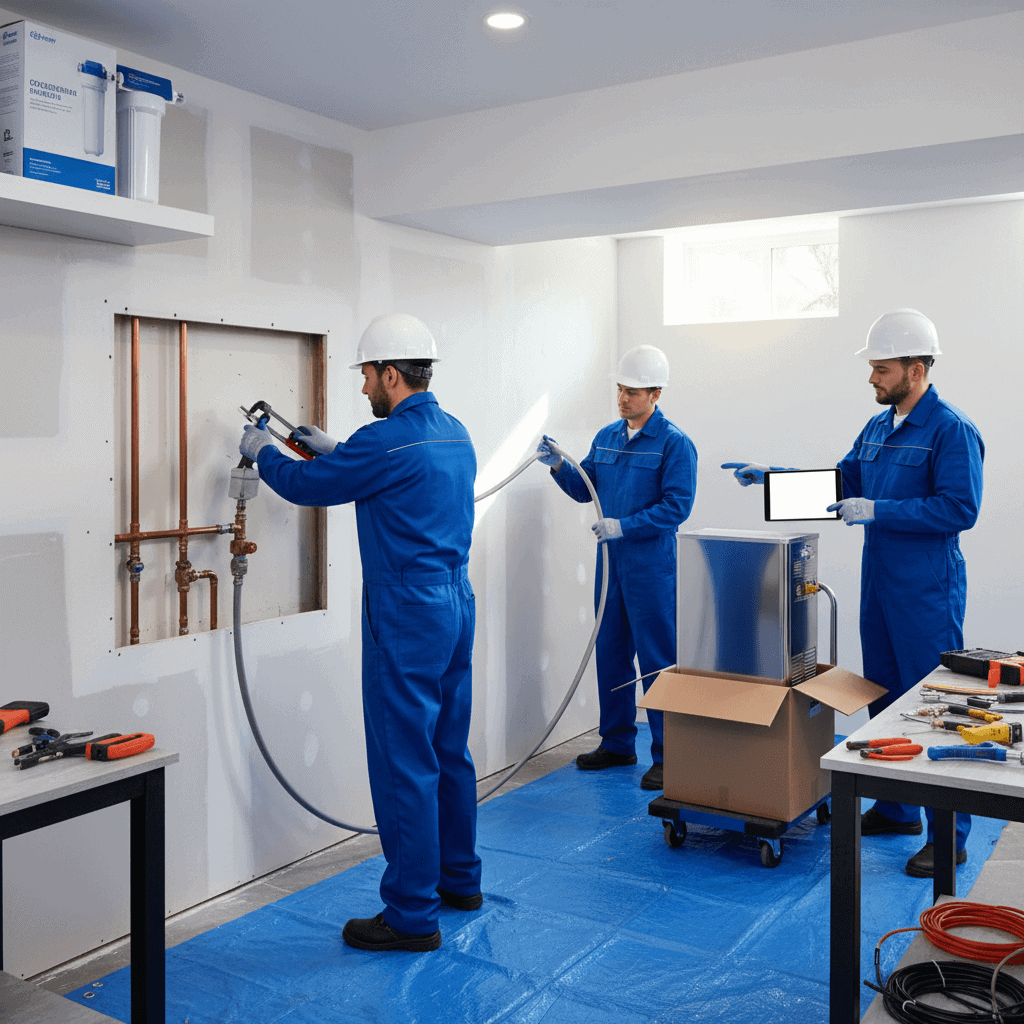
Replacing a water heater is more than ordering a new tank and waiting for a technician to arrive. Preparing Homes for New Water Heaters reduces delays on installation day and keeps the project safe and on budget. This article walks you through practical steps to ready your home, with checklists, real world examples, and tips that contractors expect before they begin work.
Whether you are swapping an old tank for a modern tankless model or upgrading to a higher capacity unit, a little preparation can save hours of work. Read on for clear tasks to complete before the installers arrive, common pitfalls to avoid, and how to coordinate with tradespeople for a smooth replacement.
Why Preparing Homes for New Water Heaters Matters for Safety and Cost
Water heater replacement involves plumbing, gas or electrical changes, and often ladder work or confined space access. If the site is not ready installers may need extra trips, special parts, or workarounds that add time and cost. For example a unit left in a cramped closet without proper clearance can take two or three times longer to remove and set in position compared with a unit that was prepped for access.
Good preparation also reduces the risk of accidental water damage. Draining lines, protecting floors, and having a clear path for removal limit the chance of a leak soaking drywall or flooring. That alone can prevent a repair bill well above the cost of the new heater.
Inspect the Installation Site Before the Technician Arrives
Walk through the area where the water heater sits. Note fuel type and service points and take measurements. Share these details with the installer when booking to avoid surprises.
Measure space and clearance requirements
Measure the available height and width and compare with the new unit specifications. Tank models are bulky and need room for removal. Tankless models require wall clearance and access to electrical and gas lines. Measure from the floor to the ceiling and from surrounding walls to the center of the unit location. If a new unit is taller than the old one, you may need to plan for panel or cabinet adjustments.
Check venting and utilities access
Look at the current venting configuration. Gas powered heaters need proper flue connections. Electric units need a dedicated electrical circuit sized to the manufacturer recommendation. If the vent or electrical panel is not easily reachable, plan ahead to move items that block the area. Removing stored boxes and clearing cobwebs makes the job quicker and safer.
Common Pre-Installation Tasks for Tank and Tankless Heaters
Tank and tankless systems share several preparatory tasks while each has specific needs. Below are the most practical steps homeowners should complete.
- Turn off power and fuel supply before the technician arrives if advised by the company. If you are unsure how to do this, note it for the technician. They will take the official steps but a pre-check saves time.
- Clear a path from the front door and driveway to the heater location. Moving oversized furniture or a parked vehicle out of the way can shave off setup time.
- Remove personal items stored near the heater. Laundry baskets, paint cans, and cleaning supplies may need relocation for safety and access.
- Locate the main water shut off valve. If the installer needs to turn off water to the house they will ask where it is. Pointing it out or unblocking access helps the crew proceed without delay.
- Label pipes if your plumbing has multiple supply lines. Simple masking tape on hot and cold lines speeds up reconnection and reduces the chance of mistakes.
Plumbing and Drainage Preparations Homeowners Can Do
Good plumbing readiness prevents leaks and reduces cleanup time. Some tasks require only basic tools and a little time.
- Attach a garden hose to the drain valve and route it to a floor drain or outside. This makes draining the old tank faster and less messy. If the drain valve is frozen or corroded, let the installer know so they can bring replacement parts.
- Check the condition of the water shut off valves on the heater. Old gate valves often fail when operated. Planning to replace them during the swap saves a return visit.
- Confirm drain access near the heater. If a proper drain is not in place, discuss alternatives with the technician. They may use a pump or a bucket, which takes longer.
Safety Steps to Take Prior to Replacement
Safety reduces the chance of injury and prevents damage to property. Follow these practical safety steps before the installer arrives.
- Turn off any space heaters and open flames near the work area if you have a gas system. This reduces fire risk during fuel line work.
- Remove tripping hazards such as rugs or loose cords. Installers carry heavy equipment and a clean floor helps prevent falls.
- Secure pets and children in another room. A calm environment lets technicians focus on the job and lowers the chance of interference with tools or parts.
- Have a flashlight and a buffer light accessible in the event the installer needs to see into a dim space.
How to Choose the Right Time and Coordinate with Technicians
Scheduling matters. Choose a day with clear weather if the heater is outdoors or the venting work requires ladder access. Midweek appointments can be faster because technicians often have fewer emergent callbacks than on Mondays.
Communicate any constraints such as shared access with neighbors or overnight guests. If you need the water heater swapped while you are at work, confirm whether the company offers an unattended service option and what permissions you must provide ahead of time.
What to Expect on Installation Day and How to Help
Being ready on the day of installation makes the process more predictable. Here are practical expectations and ways you can help the crew move efficiently.
Arrival and initial inspection
The technicians will start with a site assessment. They measure, confirm venting and electrical needs, and review any unexpected conditions. Be present if possible to answer questions and approve decisions about routing pipes or positioning the unit.
Removal and setup process
Removal involves draining the old tank and disconnecting fuel and water lines. Expect some residual water to escape during removal. For larger tanks installers may use dollies to move the old unit out. New unit installation time varies by model and required upgrades. A simple like for like swap can take two to four hours while more complex upgrades can take a full day.
Cost Considerations and Common Upgrades That Affect Price
Several factors influence the final cost of a replacement project. Being aware helps homeowners budget and choose the right options.
- Permits and inspections required by local code can add to the timeline and expense. Ask the company about permit costs up front.
- Venting modifications for gas heaters or electrical upgrades for high capacity electric units increase labor and material costs.
- Replacement of corroded plumbing fittings or valves is common. Budget a small contingency for parts that will be replaced once the old heater is removed and the damage becomes visible.
- Upgrading to a tankless model often requires changes to gas lines and venting. Discuss these possibilities with the installer during the estimate phase.
Getting ready for a water heater change is straightforward when you break tasks into manageable steps. Clear the work area, check measurements, label pipes, and coordinate timing to reduce surprises. If you want help from a local provider speak with certified technicians for a precise estimate and scheduling options using professional water heater installation options such as water heater installation services. They can confirm permit needs, provide a written timeline, and tell you which preparations will save time on the day of the swap.
Conclusion
Preparing Homes for New Water Heaters pays off through faster installations, fewer unexpected costs, and safer work conditions. Start with simple steps such as clearing a path, measuring the space, locating shut off valves, and attaching a hose to the drain. Mark any odd connections and take photos of the existing setup before installers arrive. Communicate with your chosen provider about permits and utility upgrades so there are no last minute delays.
On installation day be ready to answer questions and direct access to the heater. Small efforts by homeowners often reduce labor time and the chance of follow up visits. If you are unsure about any step, ask the technician for a plain language explanation and a written recommendation for post installation checks. A good crew will walk you through what to look for after the swap and how to adjust temperature controls for safety and comfort. Take action now by scheduling an inspection or estimate with a licensed local company and get a clear timeline for replacement. Proper preparation makes the whole process smoother and protects your home from avoidable damage.